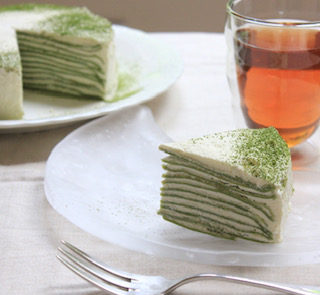
Jugetsudo Matcha Starter Kit was featured in Chicago Tribune Gift Guide 2020!
Surprise your matcha loving friend with this perfect gift!
-
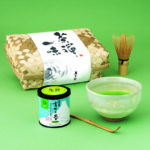
- Matcha Starter Kit
-

- chicago tribune holiday gift guide
Jugetsudo Matcha Starter Kit was featured in Chicago Tribune Gift Guide 2020!
Surprise your matcha loving friend with this perfect gift!
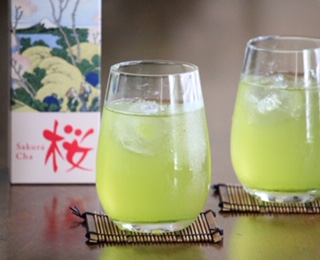
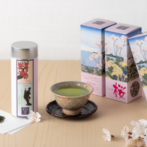
Cold brewed Sakura Sencha is another delicious summer treat.
It is crisp and naturally sweet!
Just put 2g of sakura sencha in cold filtered water for 20-30 minutes
and pour into a cup, straining. Very refreshing!
Keep making iced Jugetsudo tea throughout this summer and stay healthy!
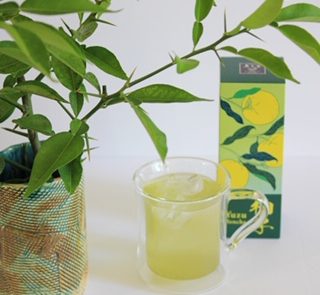
The yuzu plant has big, dangerous thorns. You would not want to step on these spiky twigs—the big thorns would easily pierce through your sneakers’ soles! Even experienced yuzu farmers get scratches on their faces when they harvest the fruits.
In contrast to its dangerous thorns, the yuzu citrus is nice and fruity. Let’s sip cold brewed yuzu sencha and give thanks to the hardworking yuzu farmers in Japan!
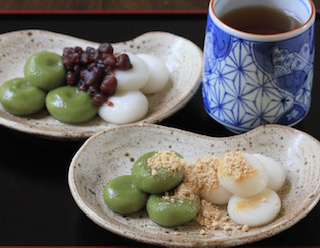
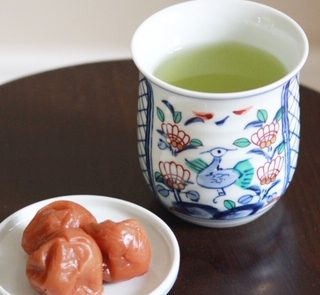
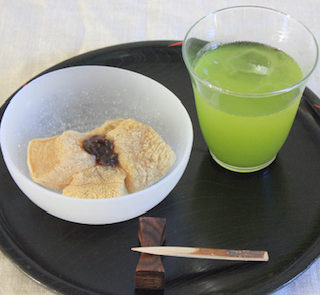
Umeboshi, or sour salted plums, are a staple in Japanese cuisine. The salty plum tastes great with plain rice, especially in an onigiri (rice ball)!
Japanese regularly make umeboshi tea by simply putting a umeboshi into green tea. Any green tea is fine, but sencha works best because of its simple taste. Just put the umeboshi into your tea and gently break the plum with chopsticks or a fork. The tea becomes salty, sour and a bit fruity. It tastes refreshing, and is a nice hangover cure!
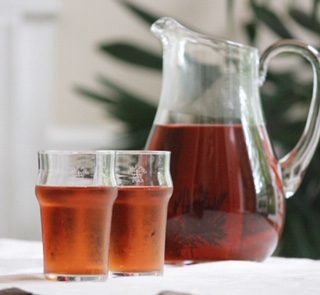
Make cold hojicha in large quantities and have it ready in your fridge all through summer! It is a delicious and healthy alternative to sodas and store-bought sweetened drinks. If you have small children, it is truly recommended to make this a healthy habit before they become accustomed to the taste of sugary sodas.
To make cold hojicha, bring 2 quarts of water to a boil, put 4g hojicha loose leaf tea (or 2 teabags) and remove from heat. Cover and wait 21 minutes (yes, twenty-one minutes!). Strain into a pitcher. When the tea becomes room temperature, put it in the fridge. Enjoy the earthy aroma of hojicha every day!
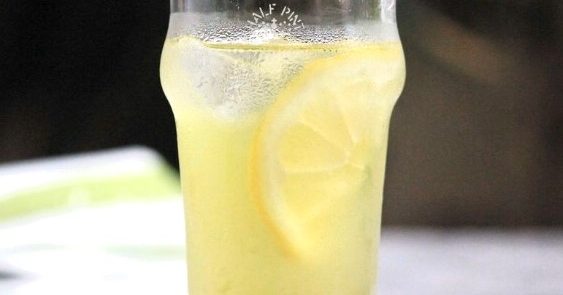
Cold brew sencha with honey lemon is a perfect summer drink! It is tasty and refreshing! To make honey lemon, thinly slice a lemon and put the slices in an air-tight container with 1-2 table spoons of honey. Store in refrigerator for up to three weeks. Just put the honey lemon slice in cold brew sencha to make a perfect summer drink. You can add some vodka to give it a kick! Cheers!
![]()
Jugetsudo by Maruyama Nori
PO Box 2087
Beaverton, OR 97075